GPTBundle Docs
What is GPTBundle?
GPTBundle, a React application toolkit, harnesses AI to convert textual content into structured forms and delivers advanced autofill suggestions. Leveraging GPT-4 from OpenAI's API simplifies form development, accelerating the process and enhancing intuitiveness.

Main Features
GPTBundle facilitates adding AI capabilities to forms in React applications. Some of the main GPTBundle features include:
You can find a list of all examples here. Feel free to explore all the features and download the source code to examine how it functions deeply.
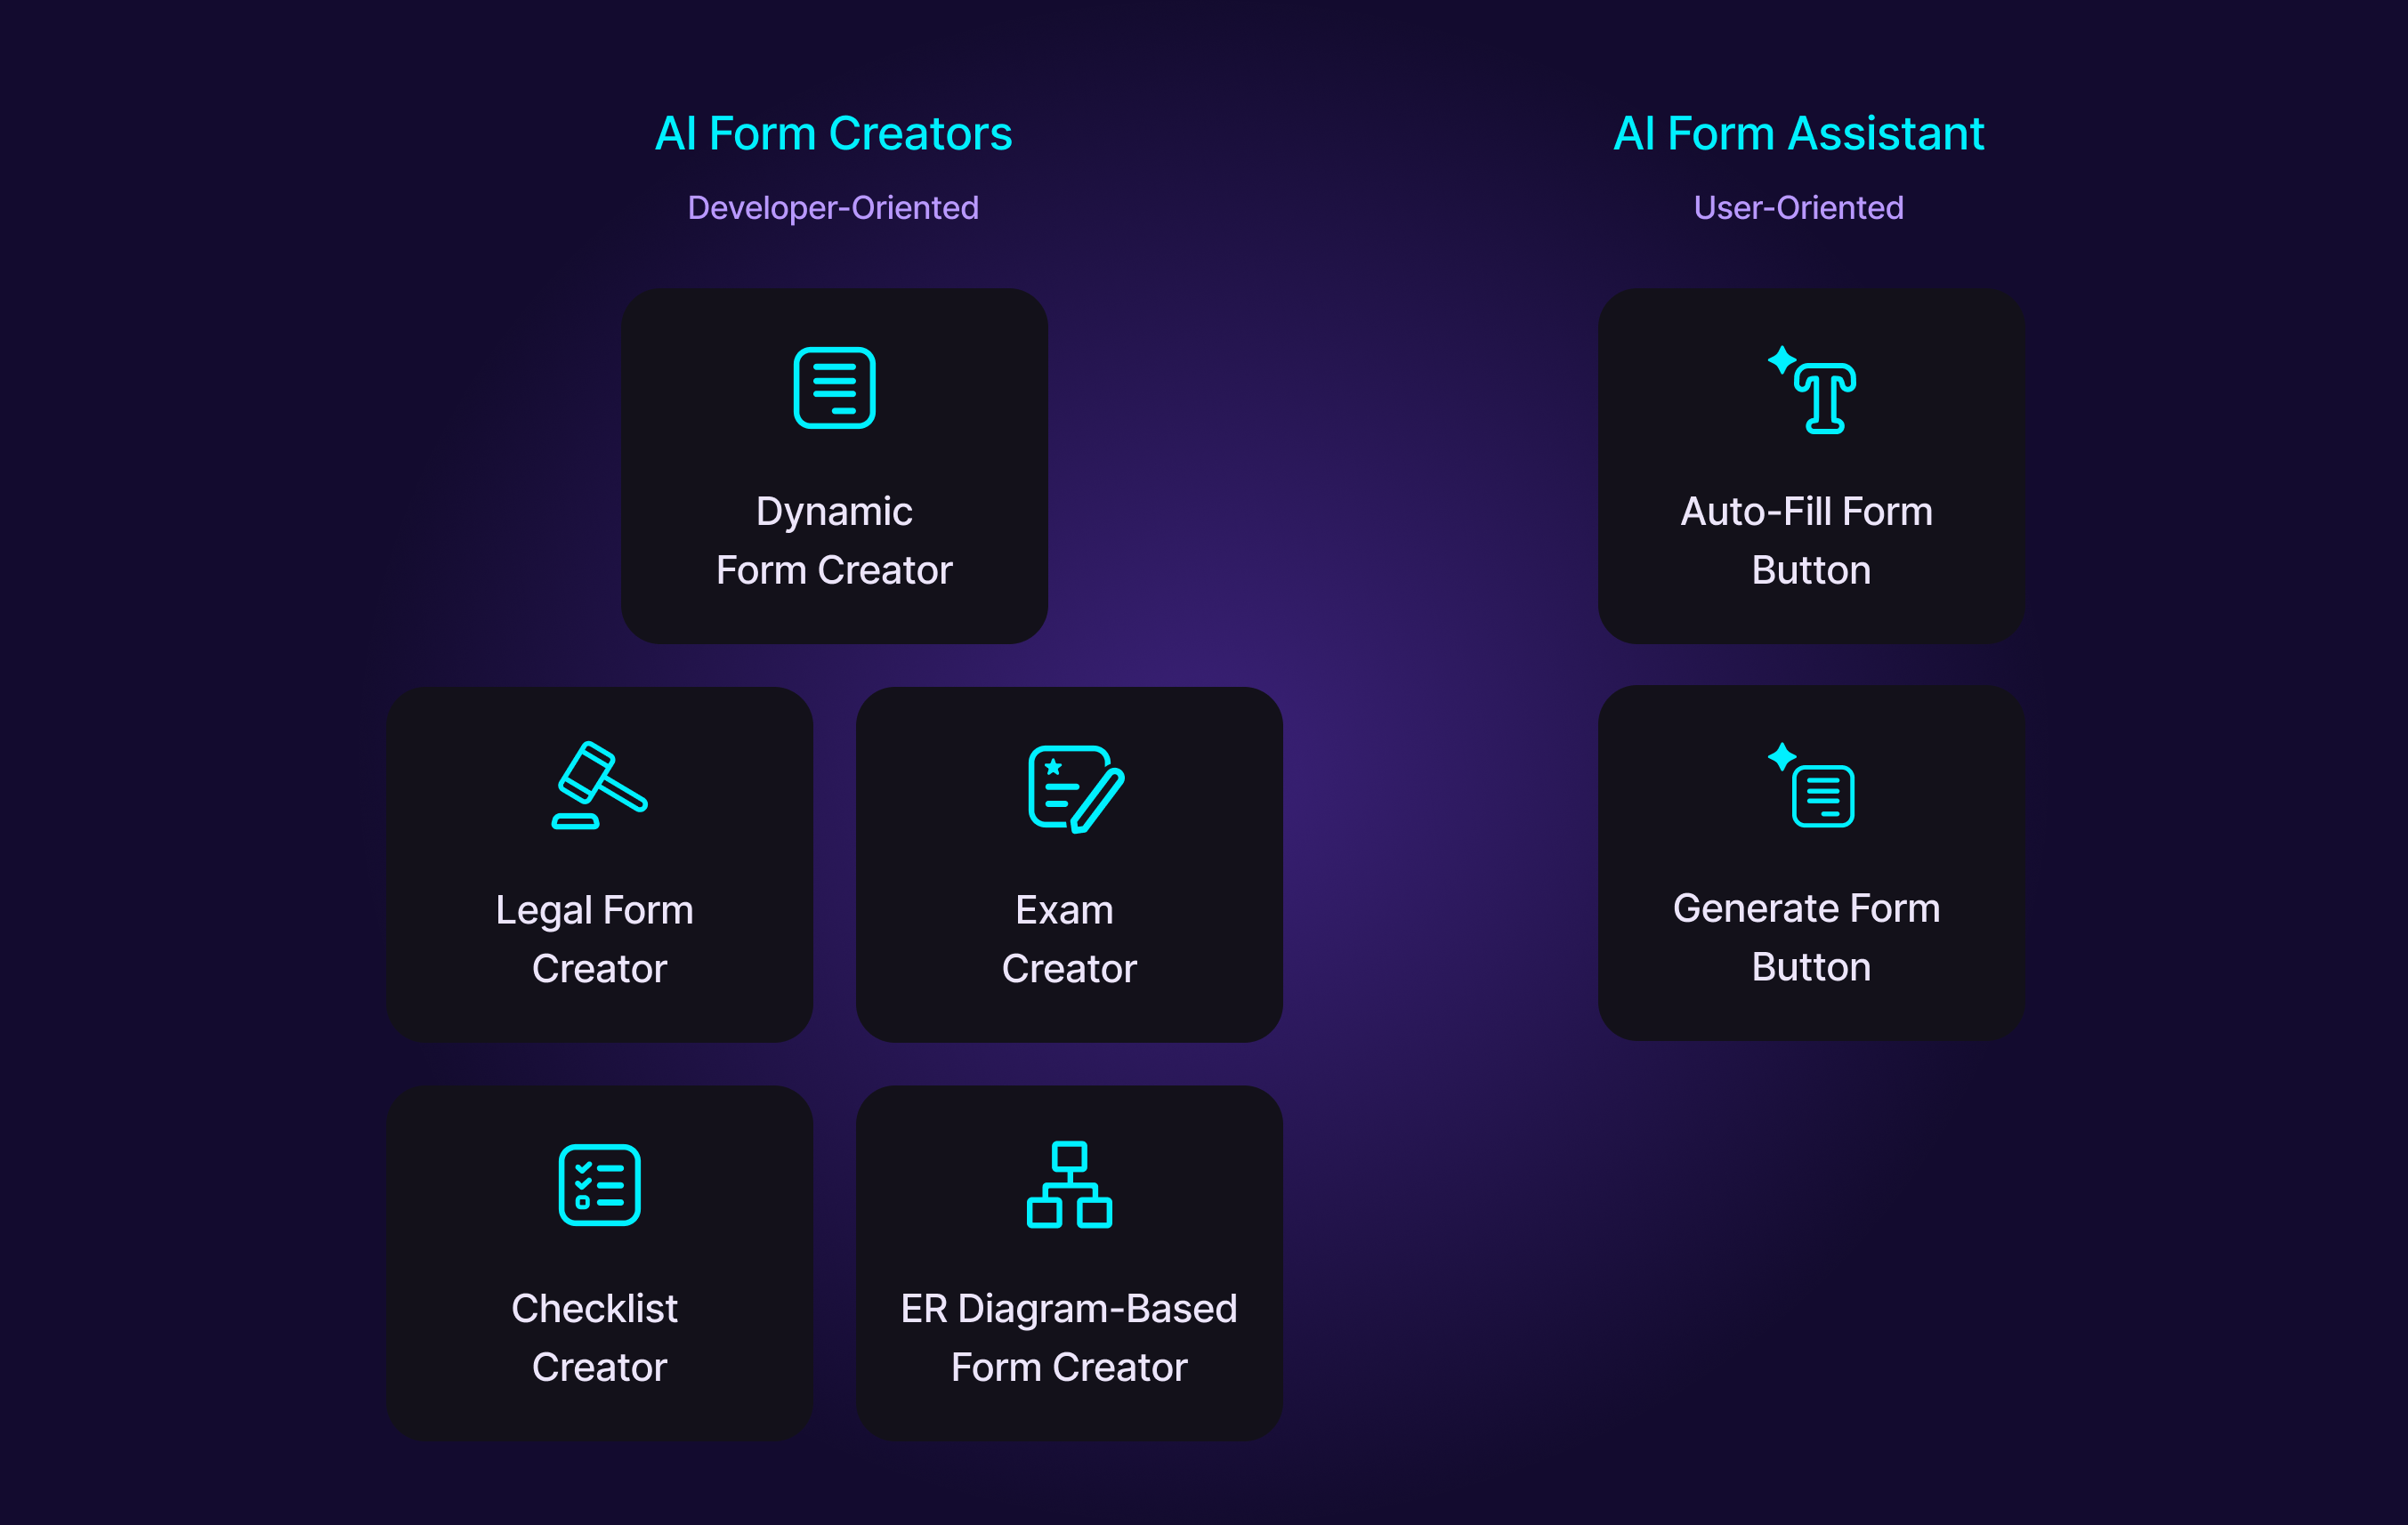
- AI Form Creators - From existing content: checklists, surveys, exams, data collection, you name it!
- AI Form Assistant - Your product forms with AI-powered autofill capabilities.
- UI Libraries Integration - Effortlessly integrate with MUI, Ant.Design, and more through react-jsonschema-form, ensuring smooth, and consistent UI across your projects.
Community
- Contributing - GPTBundle is open source because we believe that streamlining AI is based on transparency. If you are interested contributing to GPTBundle, check out our GitHub page.
- Reddit (TBA) - Join the conversation by checking us out on Reddit.
- Support - This project is primarily maintained by Vinta Software. If you require assistance, our team is ready and willing to help. Please feel free to reach out to us via email at gptbundle@vintasoftware.com.
Getting Started
Installation
npm install @gptbundle/client @gptbundle/serverConfiguration
Set your OPENAI_API_KEY in the environment variables (.env.local for Next.js).
If you don't have a key, get one from your OpenAI account:
OPENAI_API_KEY=...Use the GptBundleConfig to provide the action functions from server package to the client-side.
In Next.js, do that in your root layout:
import { GptBundleConfig } from '@gptbundle/client';
import { generateGPTFormAutofill, generateGPTFormSchema } from '@gptbundle/server';

export default function RootLayout({ children }) {
  return (
    <html lang="en">
      <body>
        <GptBundleConfig
          generateFormAutofillFn={generateGPTFormAutofill}
          generateFormSchemaFn={generateGPTFormSchema}
        />
      </body>
    </html>
  );
}
AI Form Creators
GPTBundle integrates with OpenAI's GPT models to generate JSON schemas, which are then used to generate forms via react-jsonschema-form.
It can generate forms from any kind of text content: an article, a task description, a legal contract, a list of topics, etc. Even if the text is code, like Mermaid diagrams. As long as it's text, and the AI can understand it, GPTBundle can generate a form for it.
Generating a form
The best way to understand the form generation is to see it in action, the code and the generated forms:
import { useState } from 'react';
import validator from '@rjsf/validator-ajv8';
import Form from '@rjsf/core';

import { useGeneratedFormSchema } from 'ai-form/hooks/form-gen';

export default function BasicExample() {
  const [content, setContent] = useState('Name: ...\nAge: ...');
  const [prompt, setPrompt] = useState('Form to fill the missing values');
  const { formSchema, uiSchema, generateFormSchema } = useGeneratedFormSchema();

  const onSubmit = ({ formData }) => {};

  return (
    <>
      <label>
        Content:
        <textarea value={content} onChange={(e) => setContent(e.target.value)} />
      </label>
      <label>
        Prompt:
        <textarea value={prompt} onChange={(e) => setPrompt(e.target.value)} />
      </label>
      <button type="button" onClick={() => generateFormSchema(content, prompt)}>
        Generate Form
      </button>
      {formSchema && <Form schema={formSchema} uiSchema={uiSchema} validator={validator} onSubmit={onSubmit} />}
    </>
  );
}
The code above renders an input form that looks like this:
After the user clicks the the Generate Form button, the AI generates this form based on the input form:
The AI generated form is built by react-jsonschema-form library from the schemas below. In other words, the AI generated the following schemas to build the form above based on user's input:
{
  "title": "Personal Information Form",
  "description": "Form to collect name and age",
  "type": "object",
  "required": [
    "name",
    "age"
  ],
  "properties": {
    "name": {
      "type": "string",
      "title": "Name"
    },
    "age": {
      "type": "integer",
      "title": "Age"
    }
  }
}
Note the AI produces a schema for the form logic, and another schema for the form UI, compatible with each other.
Usage
GPTBundle provides a React hook, useGeneratedFormSchema, which takes no arguments.
The hook returns a function generateFormSchema and references to the formSchema and uiSchema:
const { formSchema, uiSchema, generateFormSchema } = useGeneratedFormSchema();formSchema and uiSchema are generated when the generateFormSchema is called.
Those schemas must passed to a Form from react-jsonschema-form for the form generation:
<Form schema={formSchema} uiSchema={uiSchema} ... />You must call generateFormSchema with the text content and prompt you want to generate the form from.
In our example, we use the content and prompt from the user input:
<button type="button" onClick={() => generateFormSchema(content, prompt)}>
  Generate Form
</button>
Ai Form Assistant
GPTBundle has tools to enhance your application's forms with an AI assistant that autofills form fields.
Autofill a single field
Suppose you have a form like this:
function Form() {
  const [formValues, setFormValues] = useState({ recipe: 'Hummus quick recipe: ...' });
  return (
    <textarea value={formValues.recipe} onChange={(e) => setFormValues({ ...formValues, recipe: e.target.value })} />
  );
}
You can create a button to autofill the recipe field with the useFormAssistant hook:
function FormWithAssistant() {
  const [formValues, setFormValues] = useState({
    recipe: 'Hummus quick recipe:\nIngredients: ...\nDirections: ...',
  });
  const { fillSingleField } = useFormAssistant({
    formTitle: 'Create Recipe',
    formGetValues: () => formValues,
    formSetValues: setFormValues,
  });
  return (
    <>
      <textarea value={formValues.recipe} onChange={(e) => setFormValues({ ...formValues, recipe: e.target.value })} />
      <button type="button" onClick={() => fillSingleField('recipe')}>
        Autofill with AI
      </button>
    </>
  );
}
Note the current value of the field is passed to the AI assistant, so it can enhance it. After autofilling, the form will look like this:
Fill multiple fields
You can also fill multiple fields based on the field names and values,
and context about the form like page title and form title.
By default, the AI will fill the form's empty fields when the fillFields function is called:
const COST_CHOICES = ['$', '$$', '$$$'];

function FormWithAssistant() {
  const [formValues, setFormValues] = useState({
    recipe: 'Hummus quick recipe:\nIngredients: ...\nDirections: ...',
    duration: '',
    cost: '',
  });
  const { fillFields } = useFormAssistant({
    pageTitle: 'Quick and Easy Recipes',
    formTitle: 'Create Recipe',
    formGetValues: () => formValues,
    formSetValues: setFormValues,
    fieldChoices: {
      cost: COST_CHOICES,
    },
  });

  return (
    <>
      <textarea value={formValues.recipe} onChange={(e) => setFormValues({ ...formValues, recipe: e.target.value })} />
      <input value={formValues.duration} onChange={(e) => setFormValues({ ...formValues, duration: e.target.value })} />
      <select value={formValues.cost} onChange={(e) => setFormValues({ ...formValues, cost: e.target.value })}>
        <option value={COST_CHOICES[0]}>{COST_CHOICES[0]}</option>
        <option value={COST_CHOICES[1]}>{COST_CHOICES[1]}</option>
        <option value={COST_CHOICES[2]}>{COST_CHOICES[2]}</option>
      </select>
      <button type="button" onClick={() => fillFields()}>
        Autofill with AI
      </button>
    </>
  );
}
After autofilling, the form will look like this:
Force filling non-empty fields
In the example above, the AI didn't autofill the recipe field because it already had a value,
despite the fact it was a "template" for humans to write the recipe. To force the AI to enhance
fields that have any value in them, use the fieldsToFill option:
const { fillFields } = useFormAssistant({
  pageTitle: 'Quick and Easy Recipes',
  formTitle: 'Create Recipe',
  formGetValues: () => formValues,
  formSetValues: setFormValues,
  fieldsToFill: '__all__',
  fieldChoices: {
    cost: COST_CHOICES,
  },
});
fieldsToFill == null, the default, means only fill empty fields.fieldsToFill === '__all__'means fill all fields, even if they have a value.fieldsToFill === ['duration', 'cost']means fill only those specified fields.
Pass field labels to the AI assistant
The more context about the form the AI can get, the better the autofilling will be.
You can pass the field labels to the AI assistant with the fieldLabels option:
const { fillFields } = useFormAssistant({
  pageTitle: 'Quick and Easy Recipes',
  formTitle: 'Create Recipe',
  formGetValues: () => formValues,
  formSetValues: setFormValues,
  fieldLabels: {
    recipe: 'Recipe (ingredients and directions)',
    duration: 'Duration (in minutes)',
    cost: 'Cost ($, $$, $$$)',
  },
  fieldChoices: {
    cost: COST_CHOICES,
  },
});
Field Assistant Examples
Get creative! Check the examples for some ideas:
- You can add a button next to certain fields to trigger the AI assistant to fill only that field.
- You can add a button to autofill the whole form based on what's already filled and the form field names.
- You can offer the autofill if the user is idle for a few seconds or moving the cursor out of the form.
Advanced settings
Use the advanced settings to override prompts, AI models, etc.
Pass custom functions to GptBundleConfig to override default settings.
Supported models are the ones from OpenAI that support JSON input and output. Check all OpenAI models.